Advanced embryology to support your next cycle
Enhance your chances of a successful implantation and pregnancy using state-of-the-art techniques to carefully select, prepare and transfer your embryos.
Introduction to
Advanced embryology
There are many reasons why implantation failure may occur, but thanks to the advanced and innovative techniques now available there’s also a lot we can do to help increase your chances of a successful transfer.
As always, we put every patient on the best possible treatment plan with the highest chance of success. The techniques we offer within advanced embryology are there to facilitate and enhance the experienced embryology team.
Who’s it for
Everyone
Since the techniques are non-interventional (i.e. they do not cause any harm to your embryo or treatment in any way) we perform them routinely for all patients at no additional cost.
We use a perfect combination of clinical experience coupled with AI technology to ensure the best selection and to assess the embryo quality at 'Blastocyst' stage.

Our advanced embryology techniques explained
Step 1. Undisturbed embryo culture
Traditionally, embryos were allowed to develop (embryo culture) in an incubator in the laboratory. The embryologist would then inspect embryo development by removing the petri dish, containing the embryos, from the incubator to examine them under a microscope. This has three drawbacks: (a) the embryos are removed from their ideal environment, (b) the embryos are disturbed by the movement and (c) this only provides a snapshot of embryo development.
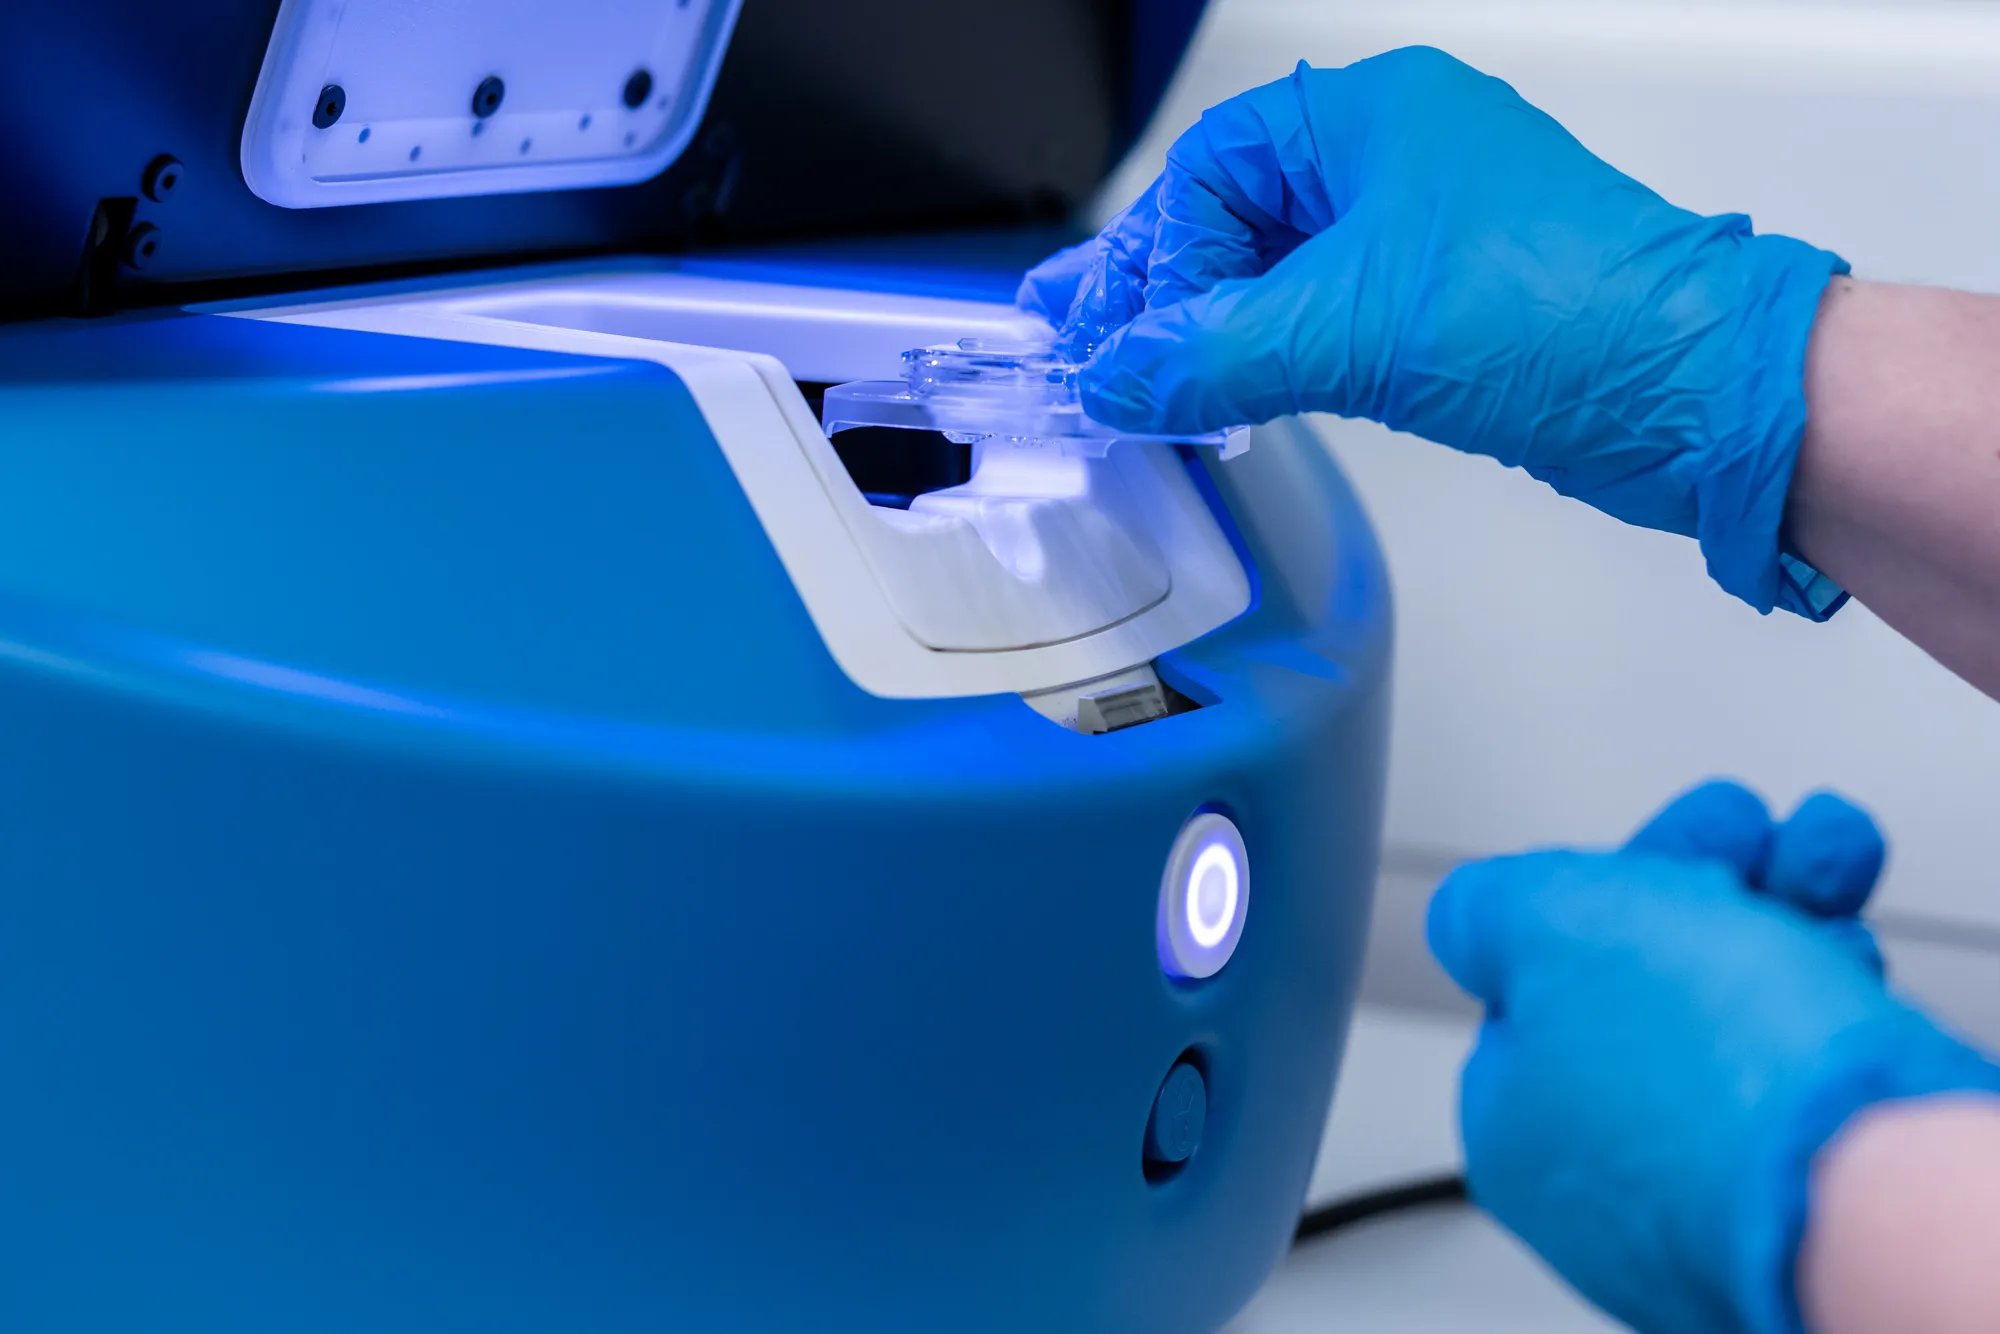
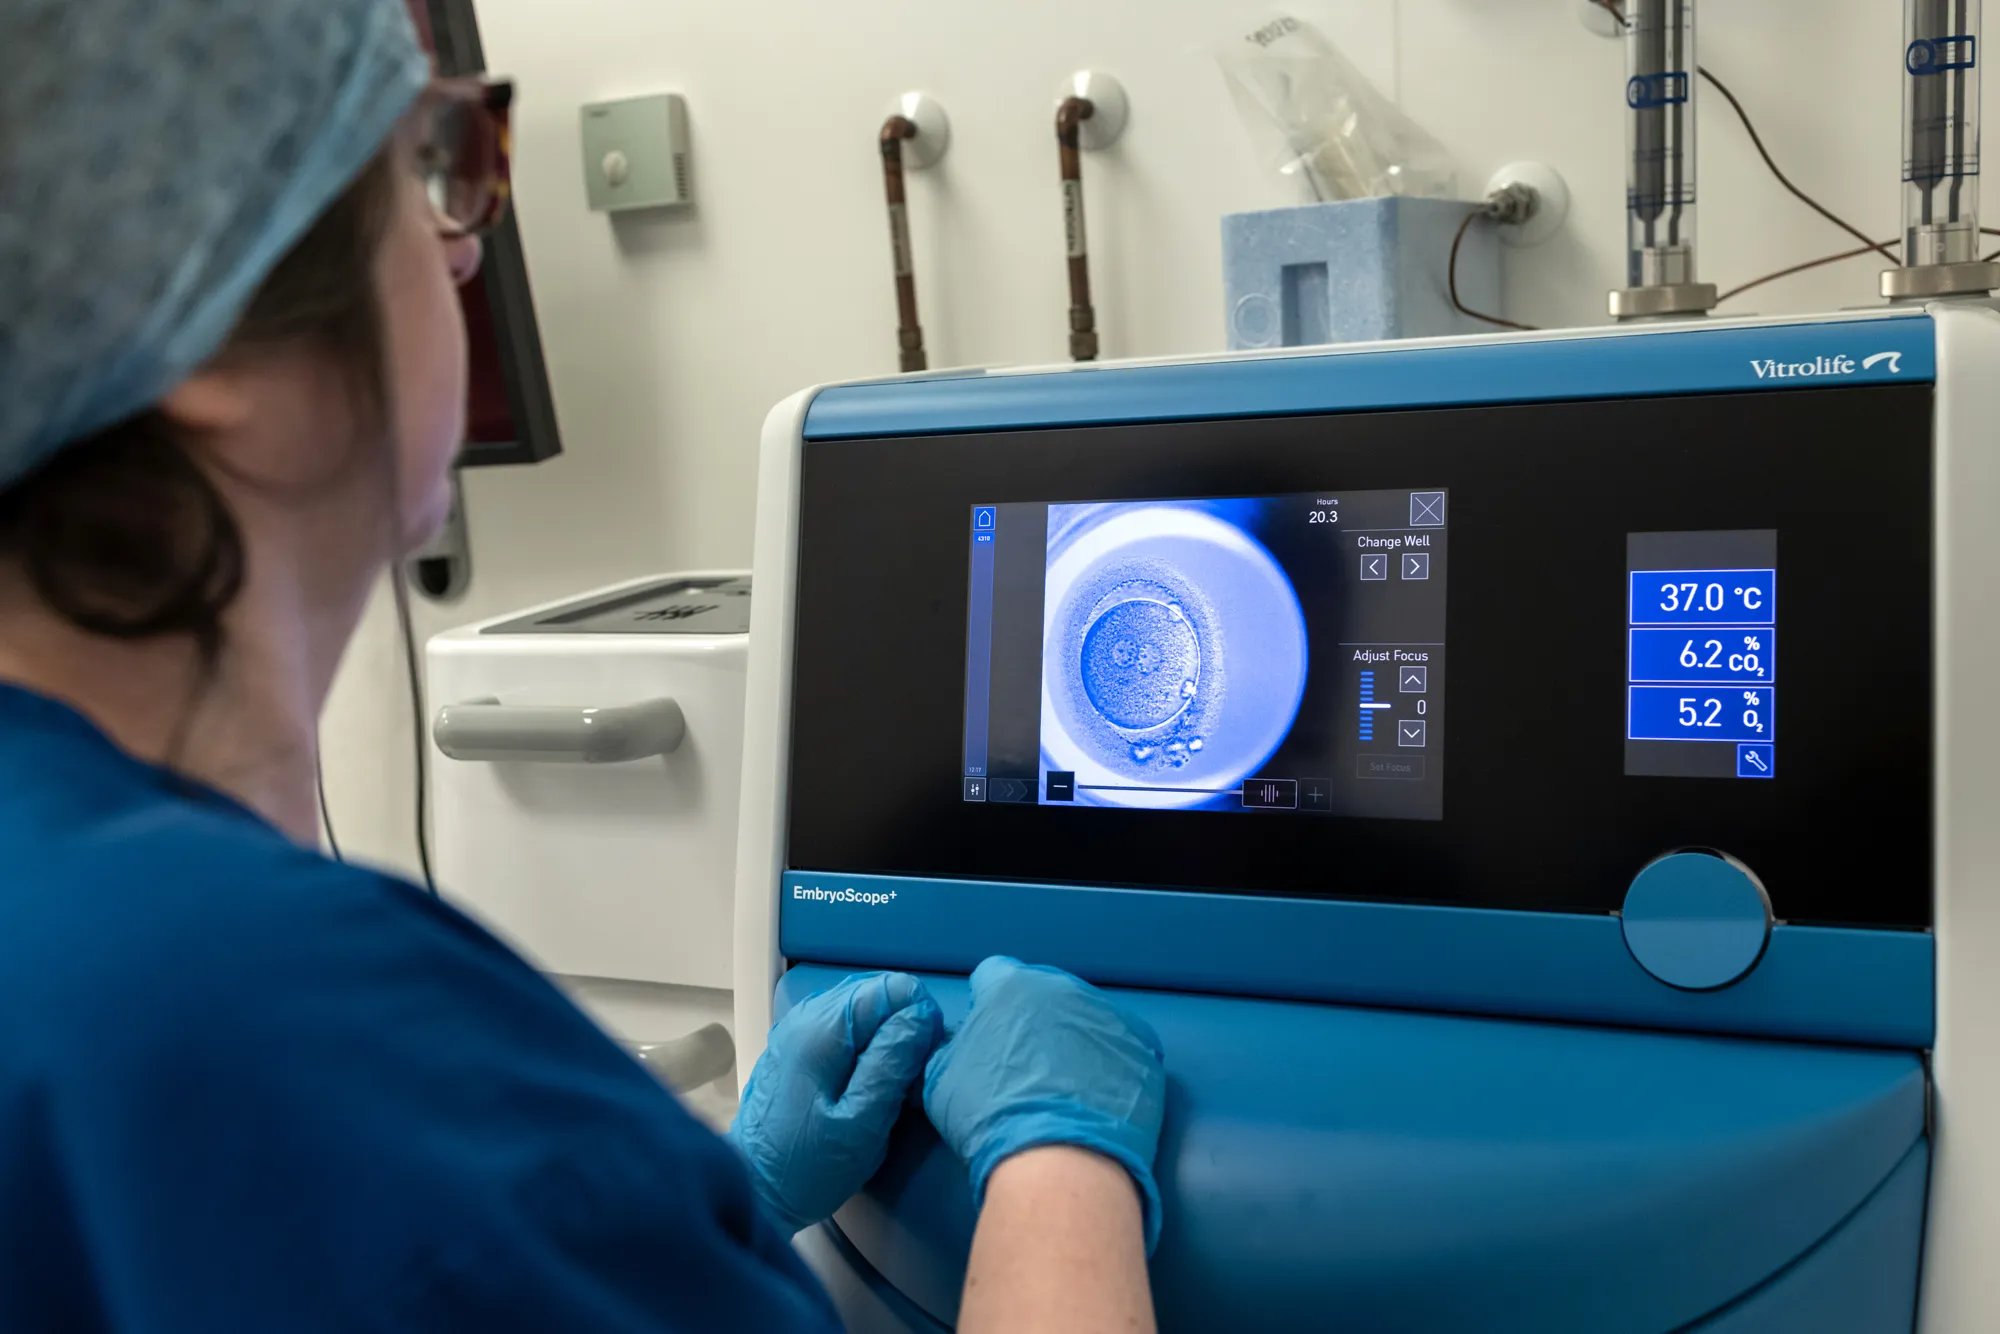
Instead, we use a state-of-the-art embryo incubator, called an Embryoscope, in which the embryos are left to develop undisturbed from directly after fertilisation until they are ready for freezing, transfer or to be discarded.
Step 2: Time lapse imaging
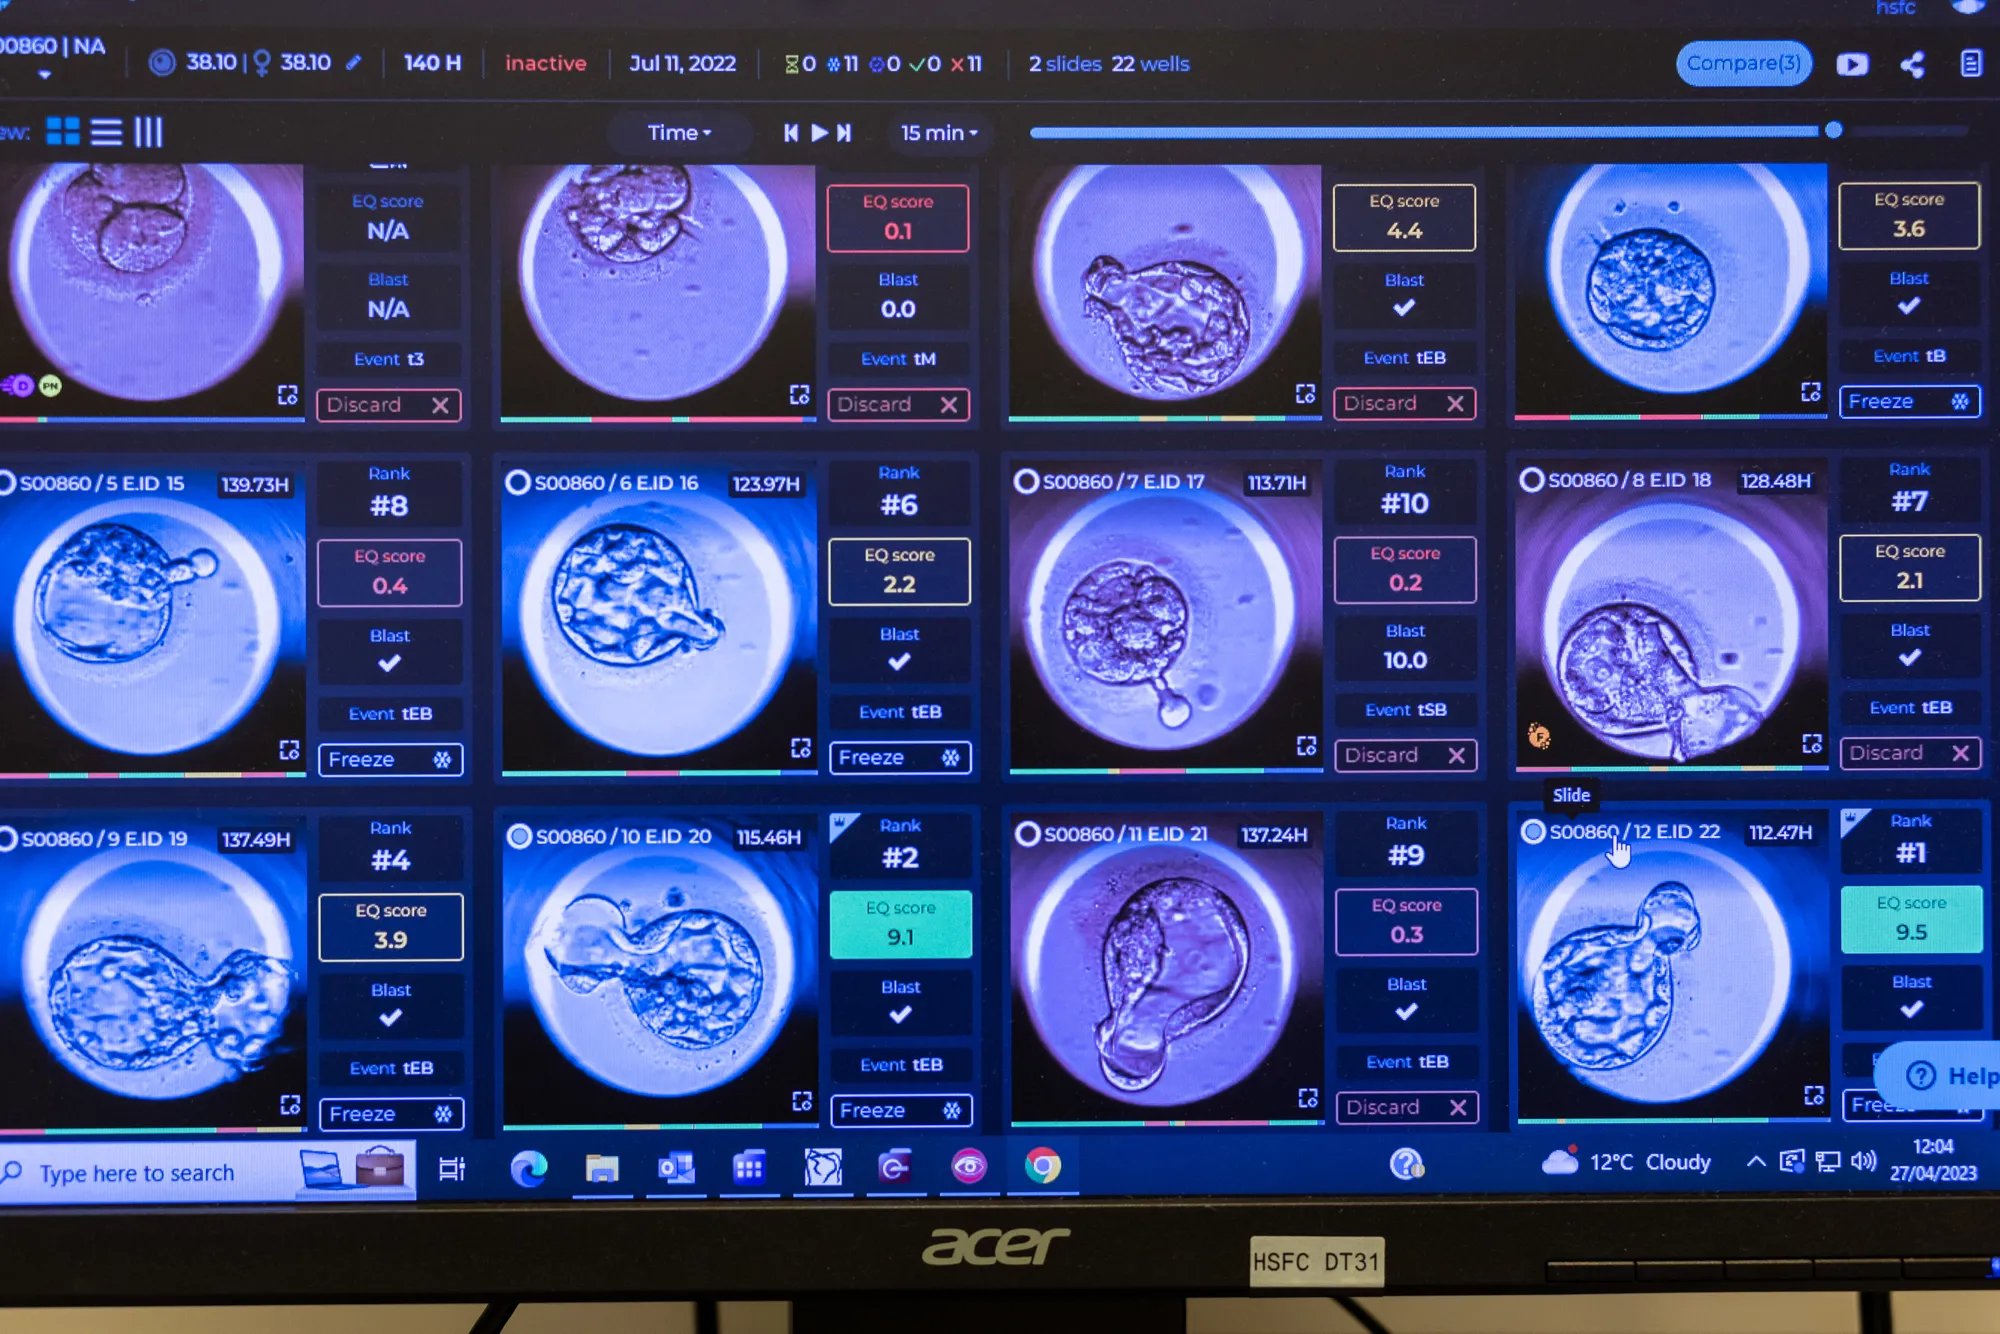
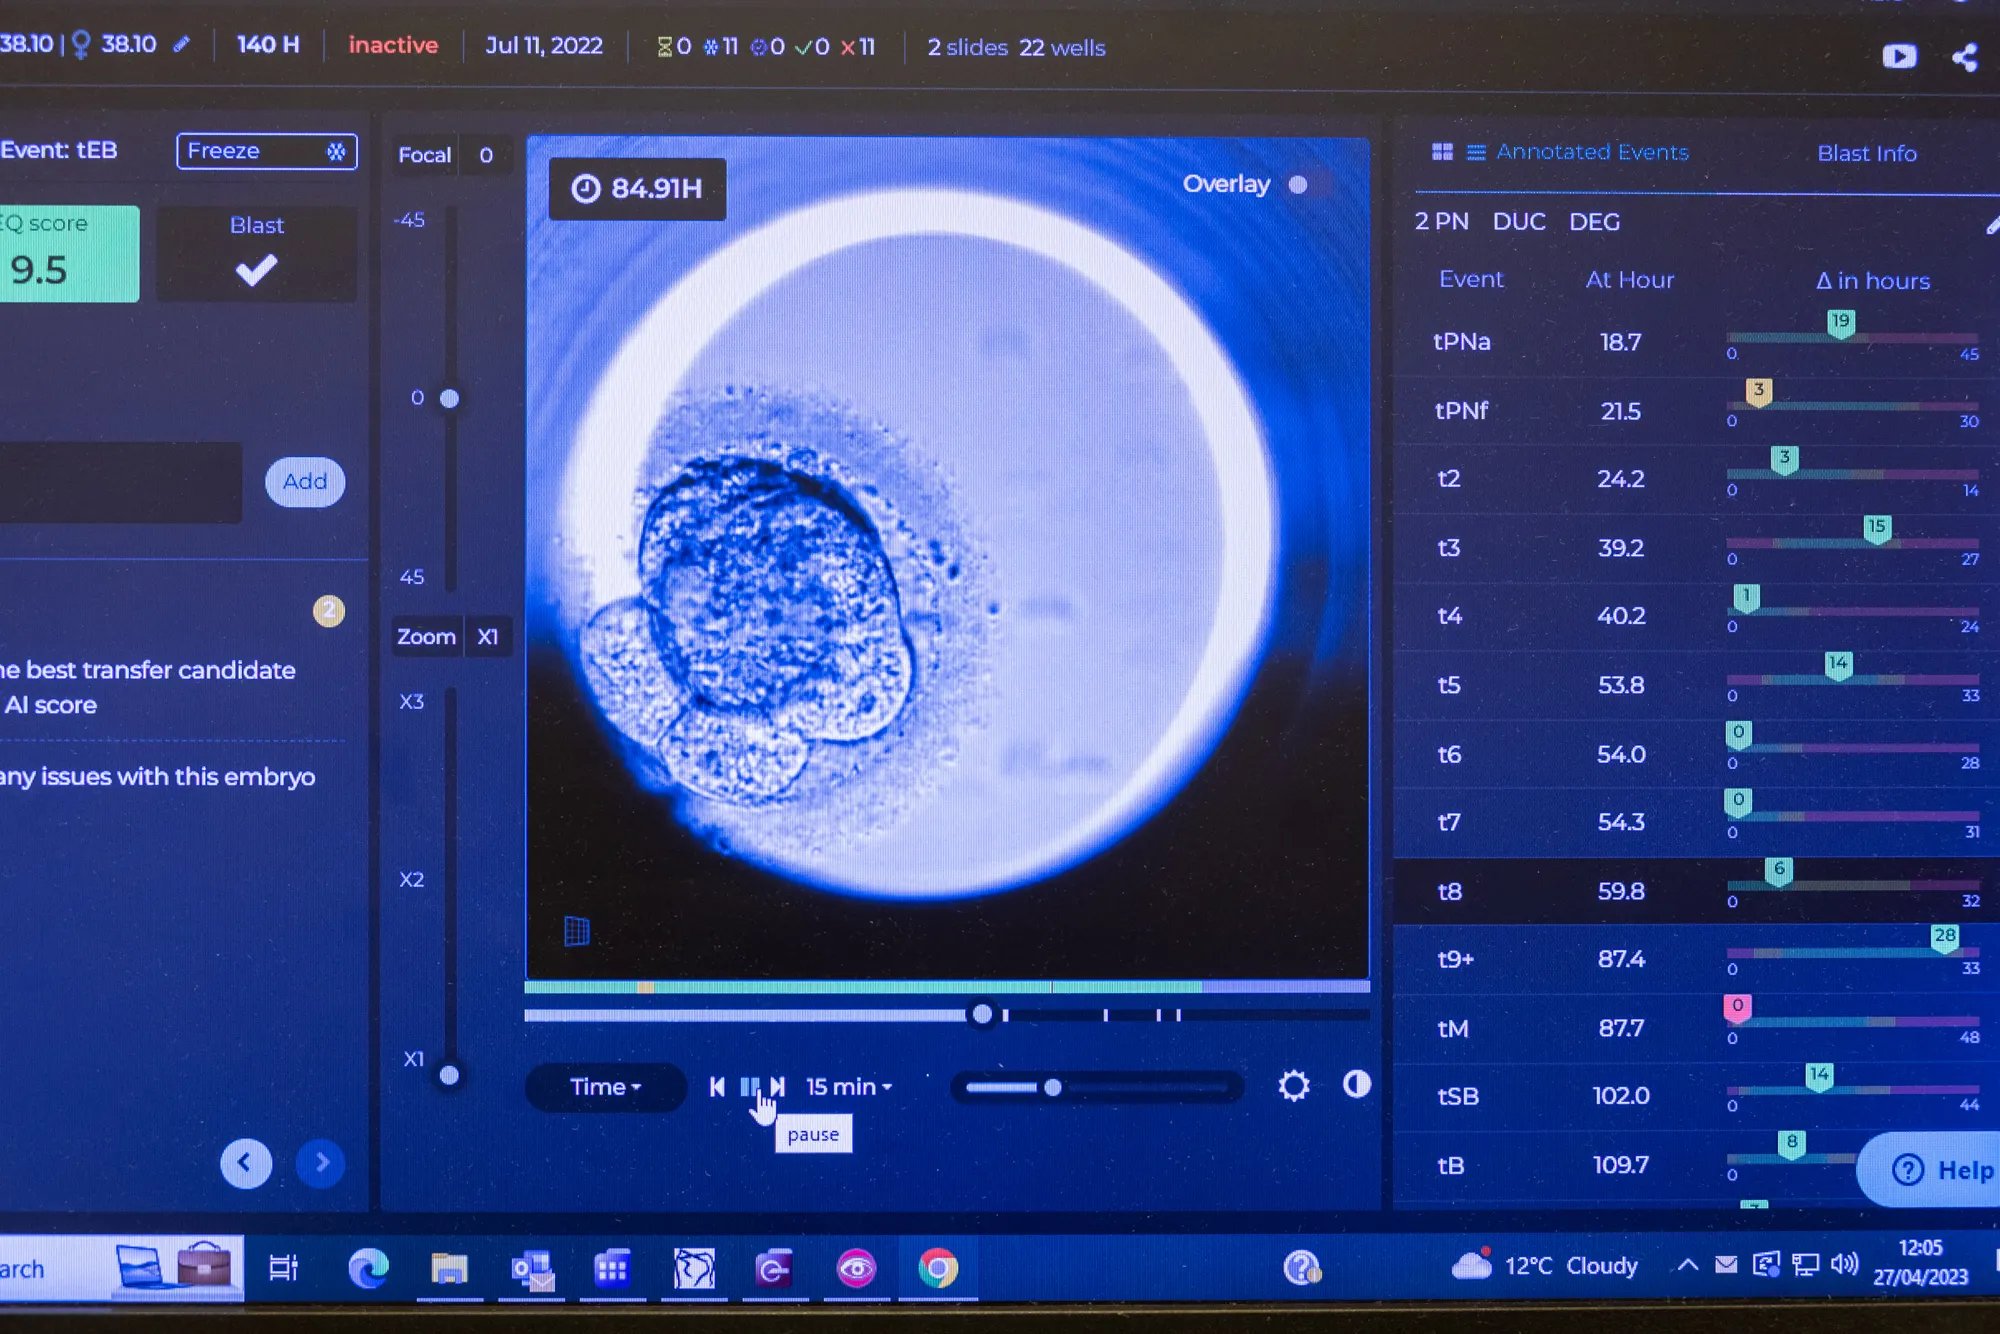
The Embryoscope contains a camera inside the incubator that continuously takes images of the embryos. This allows our embryologists to watch embryo development as a time lapse video and provides tremendous amounts of valuable information on embryo quality.
The Embryoscope images are then directly fed into our Artificial Intelligence (AI) tool, CHLOE , for immediate analysis and provides our embryologists with the most accurate and real-time view of embryo competency.
Step 3: Blastocyst culture and transfer
Step 4: Laser assisted hatching
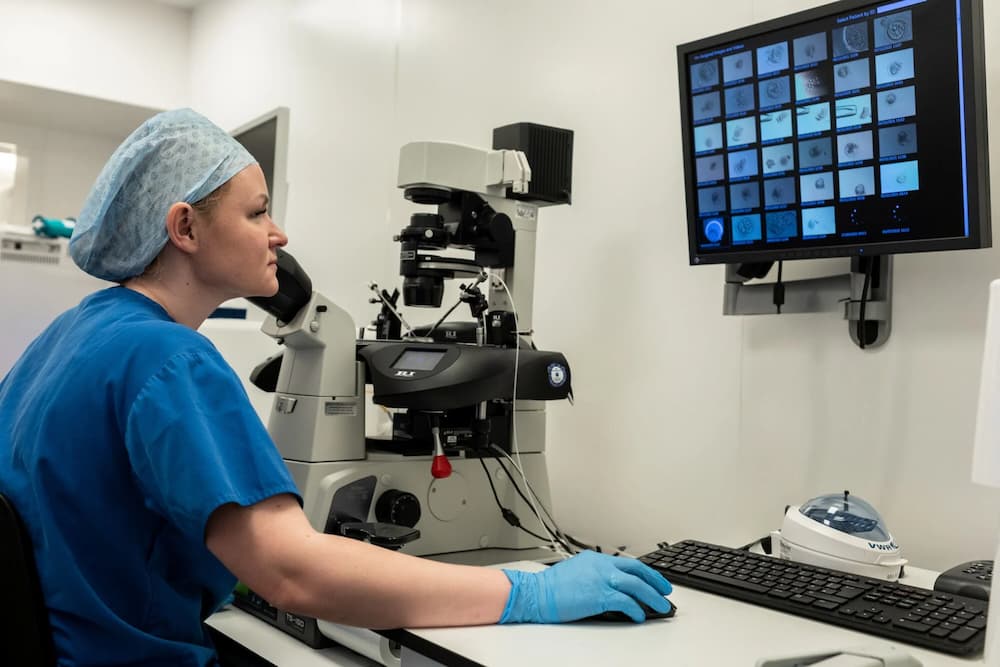
For a successful implantation and pregnancy to take place, an embryo has to “hatch” out of its “shell”. This allows the cells of the embryo to come into direct contact with the cells lining your womb. Some studies now suggest that a failure to hatch, is one possible cause of the failure to implant. If we think it might be beneficial, we can help this hatching process along by using a laser to make a small hole in the shell of an embryo in our laboratory before transfer.
Step 5: EmbryoGlue
EmbryoGlue isn’t glue as you know it; it’s made with a substance – hyaluronan – that makes the embryo more likely to stick to the lining of the womb. It’s also rich in the carbohydrates, amino acids and protein the embryo needs to develop properly. If we think it might be beneficial, we can use it in the final step of your IVF treatment to help encourage successful implantation.
.jpg?width=725&height=484&name=Uterus%20scan%20(2).jpg)
Step 3: Blastocyst culture and transfer
.jpg?width=1920&height=1280&name=edited%20pictures%20(1920%20%C3%97%201280%20px).jpg)


"We were so ready through lockdown and so positive that it was going to work"
Jenny and David
Additional treatments
Treatments
Advanced Fertility Treatments
Treatments
Intracytoplasmic Sperm Injection (ICSI)
Treatments
Genetic testing (PGT)
Increase your chances of a healthy pregnancy by genetically testing your embryos before implantation in your womb.
